Peak Monitor
Peak Monitor shows how close each channel is getting to clipping (the signal exceeds the available digital range and creates audible distortion), so you can set Maximum Digital Headroom by measurement instead of by ear. It does not measure RMS level or analog output voltage and does not determine Reference Output Voltage which is configured separately in Volume Setup.
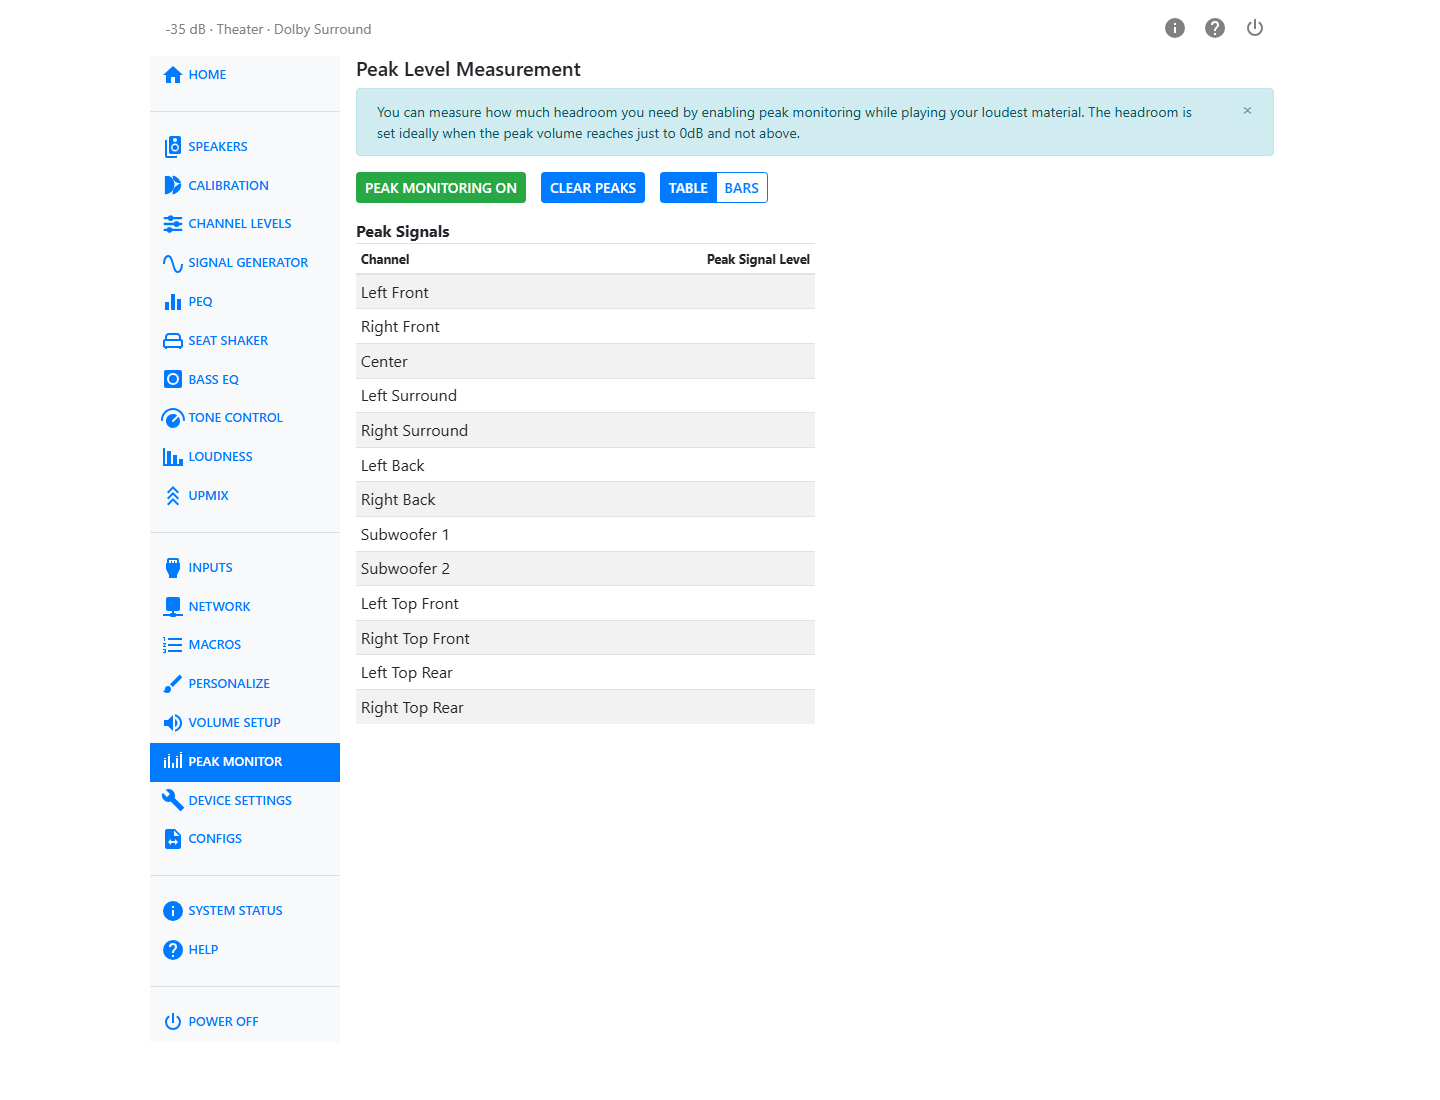
Turning It On
Click Peak Monitoring to turn it on. The meters start updating live as audio plays. Click it again to turn monitoring off.
Clear Peaks resets the peak-hold markers so you can start a fresh measurement — useful when you want to check a specific scene or passage without earlier, louder peaks skewing the reading.
Front Panel Display
Tap the peak monitoring icon in the top-left corner of the front panel to start monitoring.
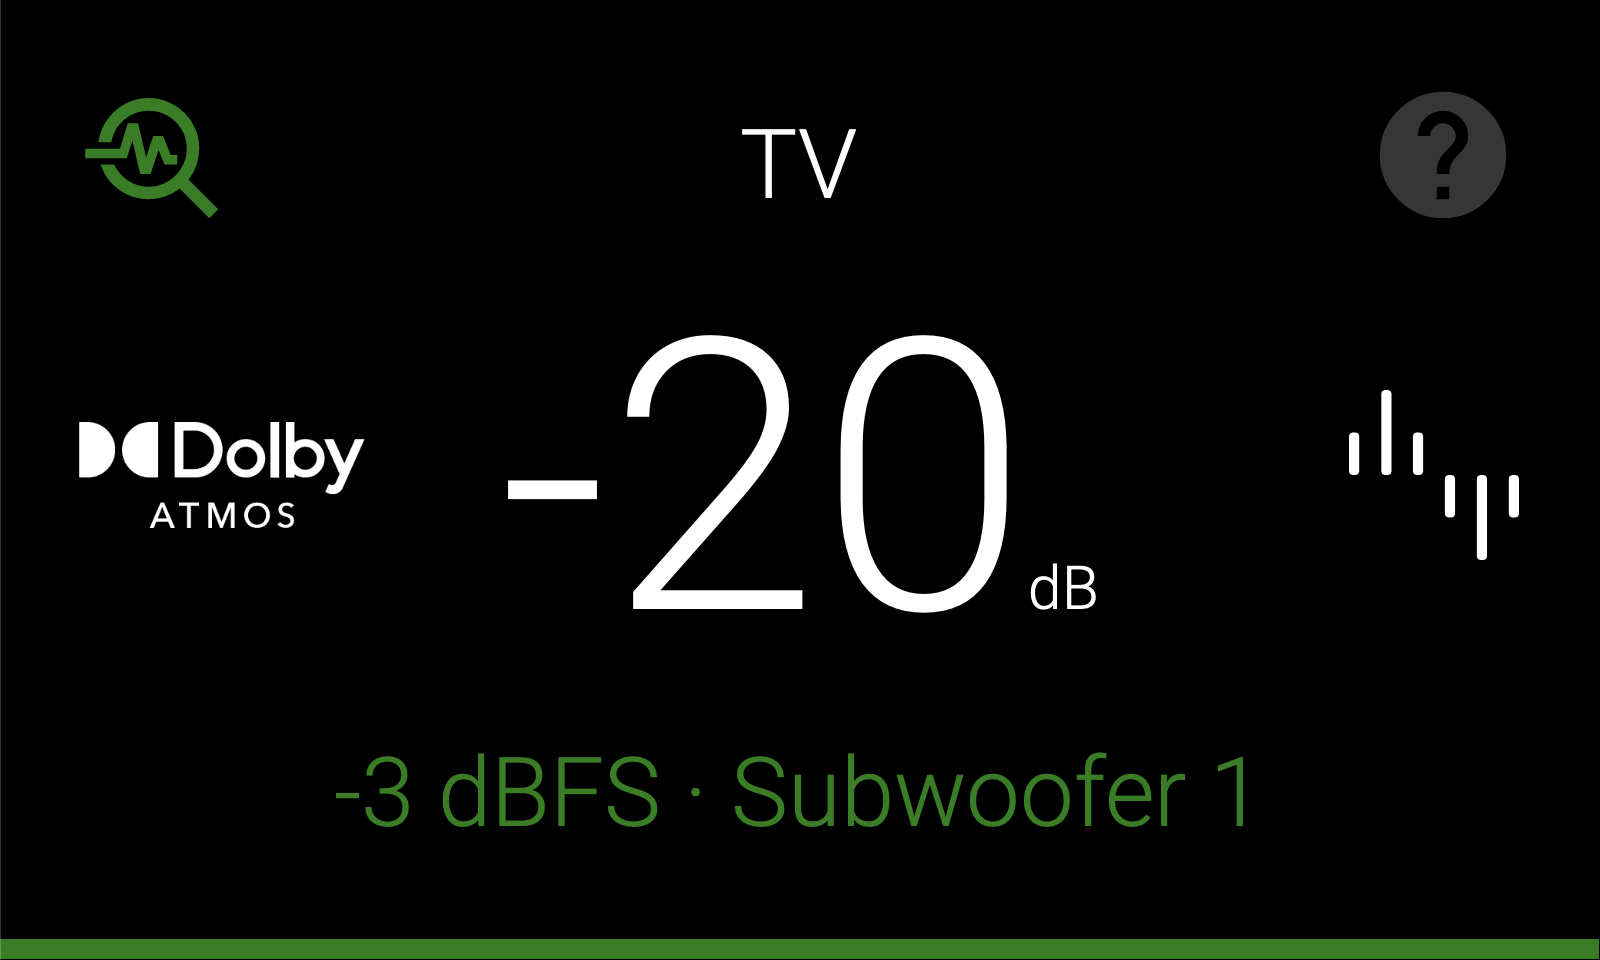
While Peak Monitor is active, the bottom of the display shows the highest peak level in dBFS and the corresponding channel. The text and bar turn red if clipping is detected.
Tap the icon again to reset the measurement and stop monitoring. The front panel and web interface use the same peak measurement.
Table and Bars Views
Switch between Table and Bars with the buttons above the meters.
Table view lists each active channel with its peak signal level in dBFS. A channel is shown in red once it reaches clipping.
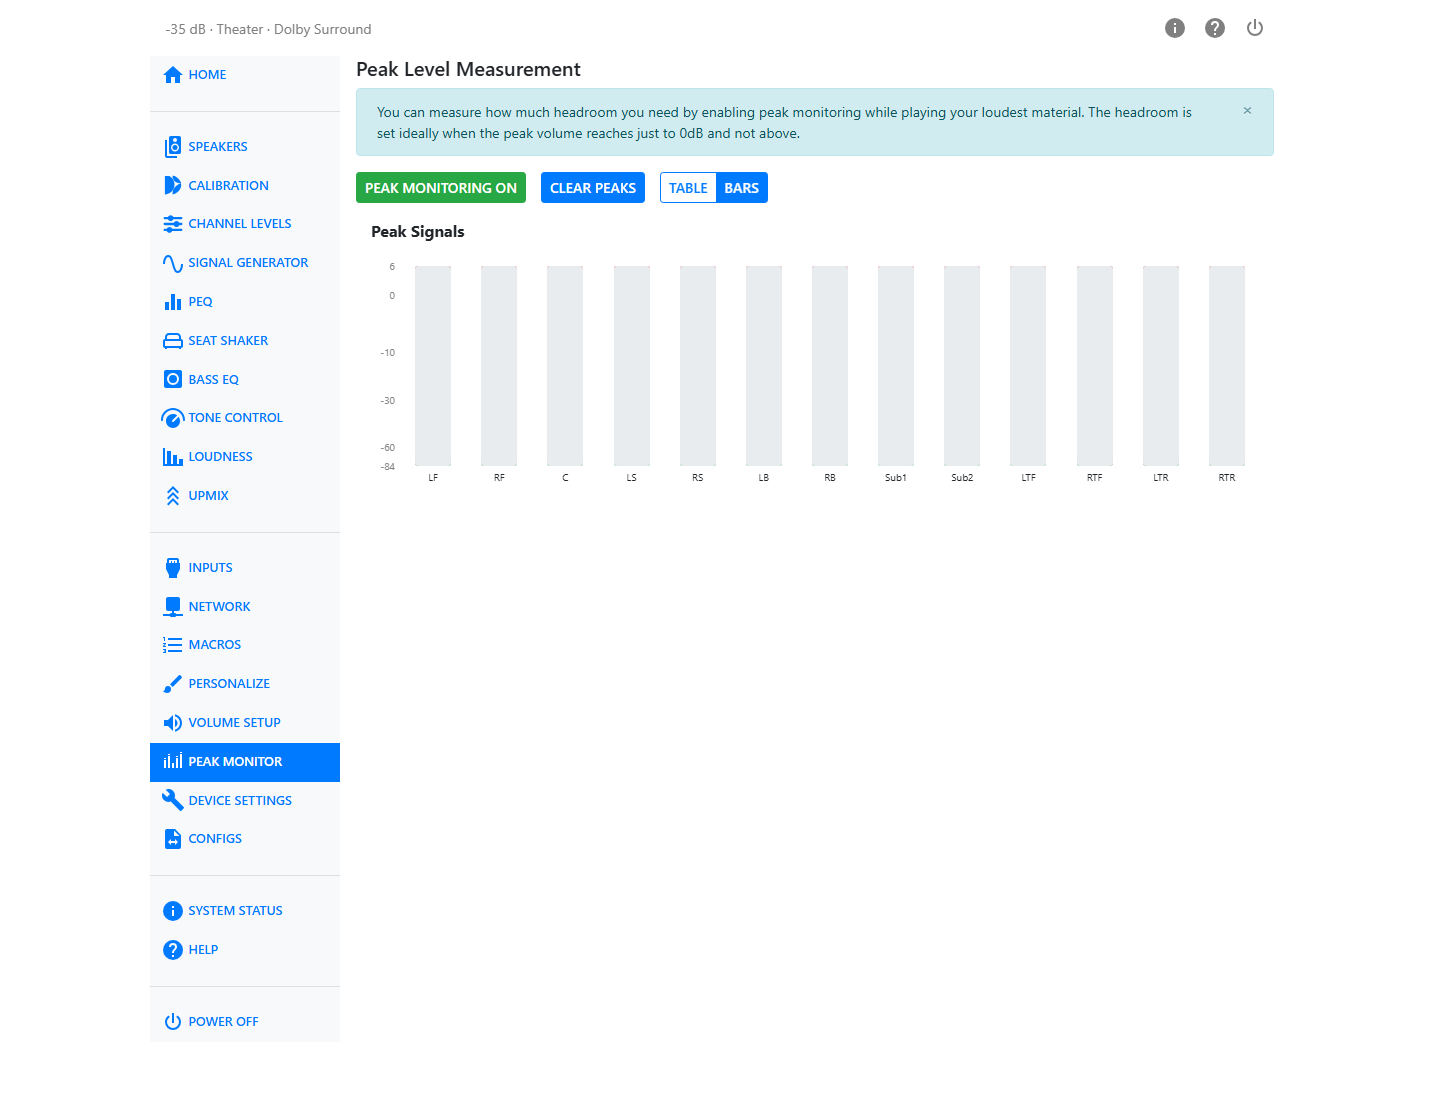
Bars view shows the same channels as vertical meters, with a scale down the left side from +6 to below −84 dBFS. Each bar has a peak-hold marker showing the highest level reached since you last cleared peaks. The marker is green while there's headroom to spare, amber as the channel approaches 0 dBFS, and red at or above clipping.
If you have a seat shaker channel active, it appears alongside the speaker channels, set apart by a divider and its own icon.
Setting the Controls
Peak Monitor is most useful for setting Maximum Digital Headroom.
- With Peak Monitor running and your loudest program material playing, lower Maximum Digital Headroom until clipping first appears.
- Increase Maximum Digital Headroom step by step until the peaks stay below clipping.
- Recheck at your normal loudest listening level and adjust again if needed.
Peak Monitor is a peak-level measurement, not an RMS measurement.
If a Channel Clips
Clipping means the digital signal ran out of headroom and was cut off — you'll hear it as distortion on loud passages. Ideally no signal should clip, that is, peak above 0 dB. If Peak Monitor shows a channel clipping:
- Increase Maximum Digital Headroom until no further peaks occur
The control is on Volume Setup. Play your loudest material while watching the meters, and adjust until peaks land close to 0 dBFS without crossing it.
Peak Monitor and Seat Shaker
The Seat Shaker XLR output and the Seat Shaker Mix Out RCA output use different volume control, which affects how you check for clipping:
- The XLR outputs use analog volume control up to the digital headroom limit as explained above. Clipping on the XLR outputs can be checked at any master volume.
- The Mix Out RCA output uses digital volume control. Because its level changes with the master volume, check for clipping at the loudest master volume you plan to use.
Hearing safety
To protect your hearing and your speakers, mute all speakers on the Calibration page before setting headroom for the seat shaker RCA outputs.